
Create Project
This page explains how to create a new project in DFCine, enter the canvas to begin working, and manage existing project records from the project page.
Step 1: Create a New Project and Enter the Canvas
On the project page, click "New Project". In the popup window, enter the following information:
- Project name
- Project description
- Project save path
The project save path stores your project settings and the various AI assets generated inside the canvas.
After completing the setup, click "Create and Enter Canvas".
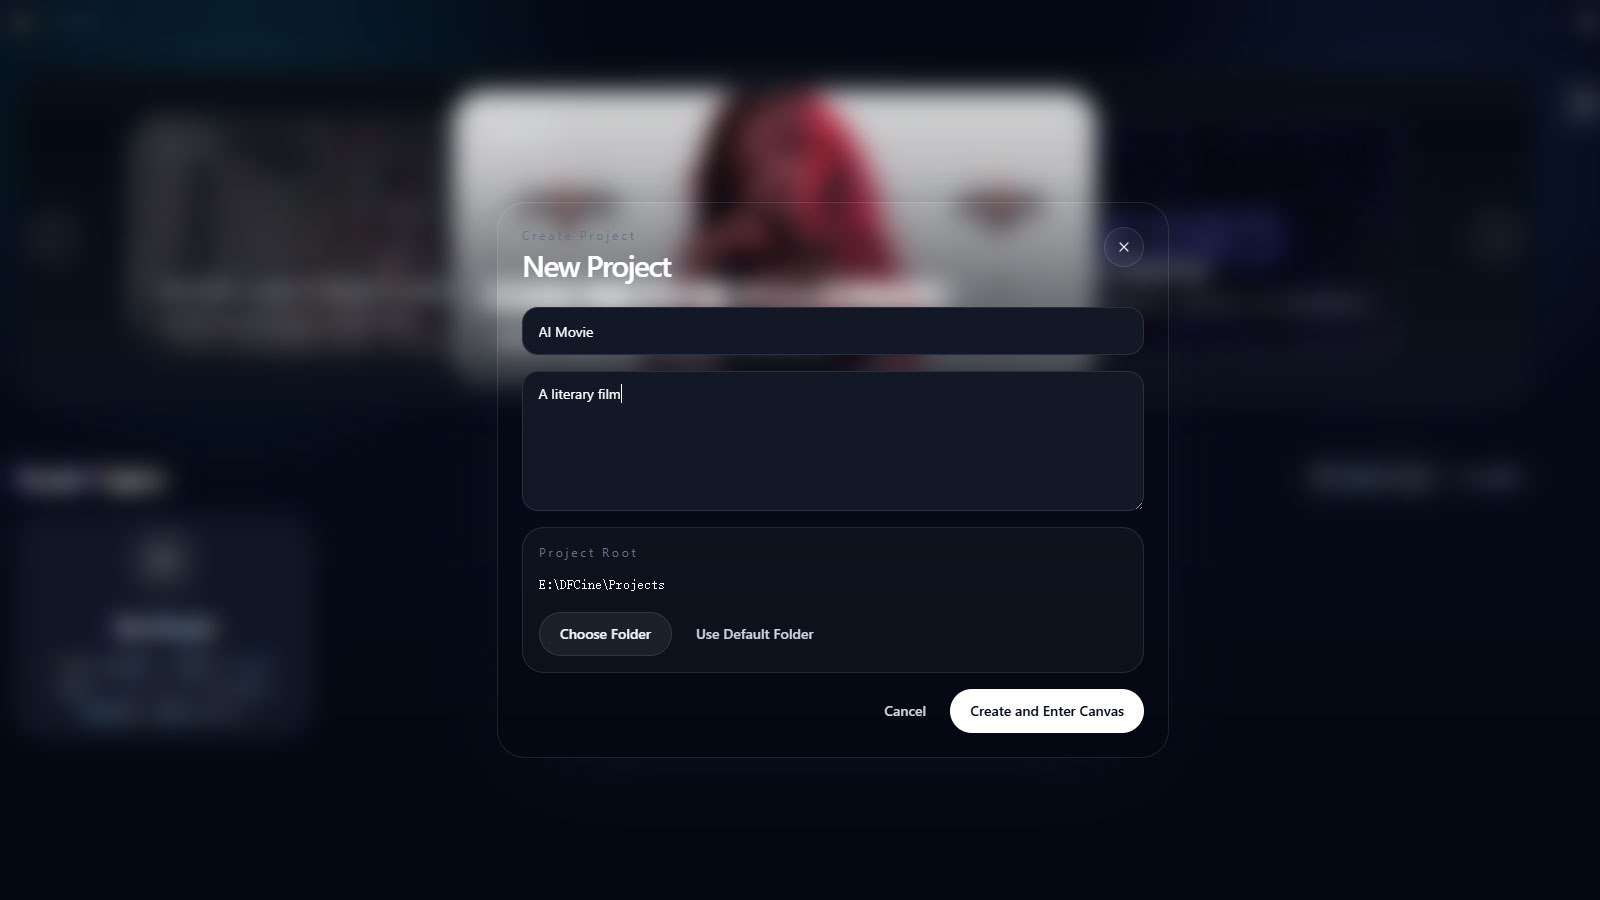
It is recommended to save projects in an easy-to-manage location and plan the project folder structure in advance.
Step 2: Start Working in the Canvas
After the project is created successfully, you will enter the canvas page of the software.
Within a single project, you can create multiple canvases and freely switch between them for management. Both projects and canvases have an automatic save mechanism, and you can also save manually by:
- Clicking the save button
- Using the
Ctrl + Sshortcut
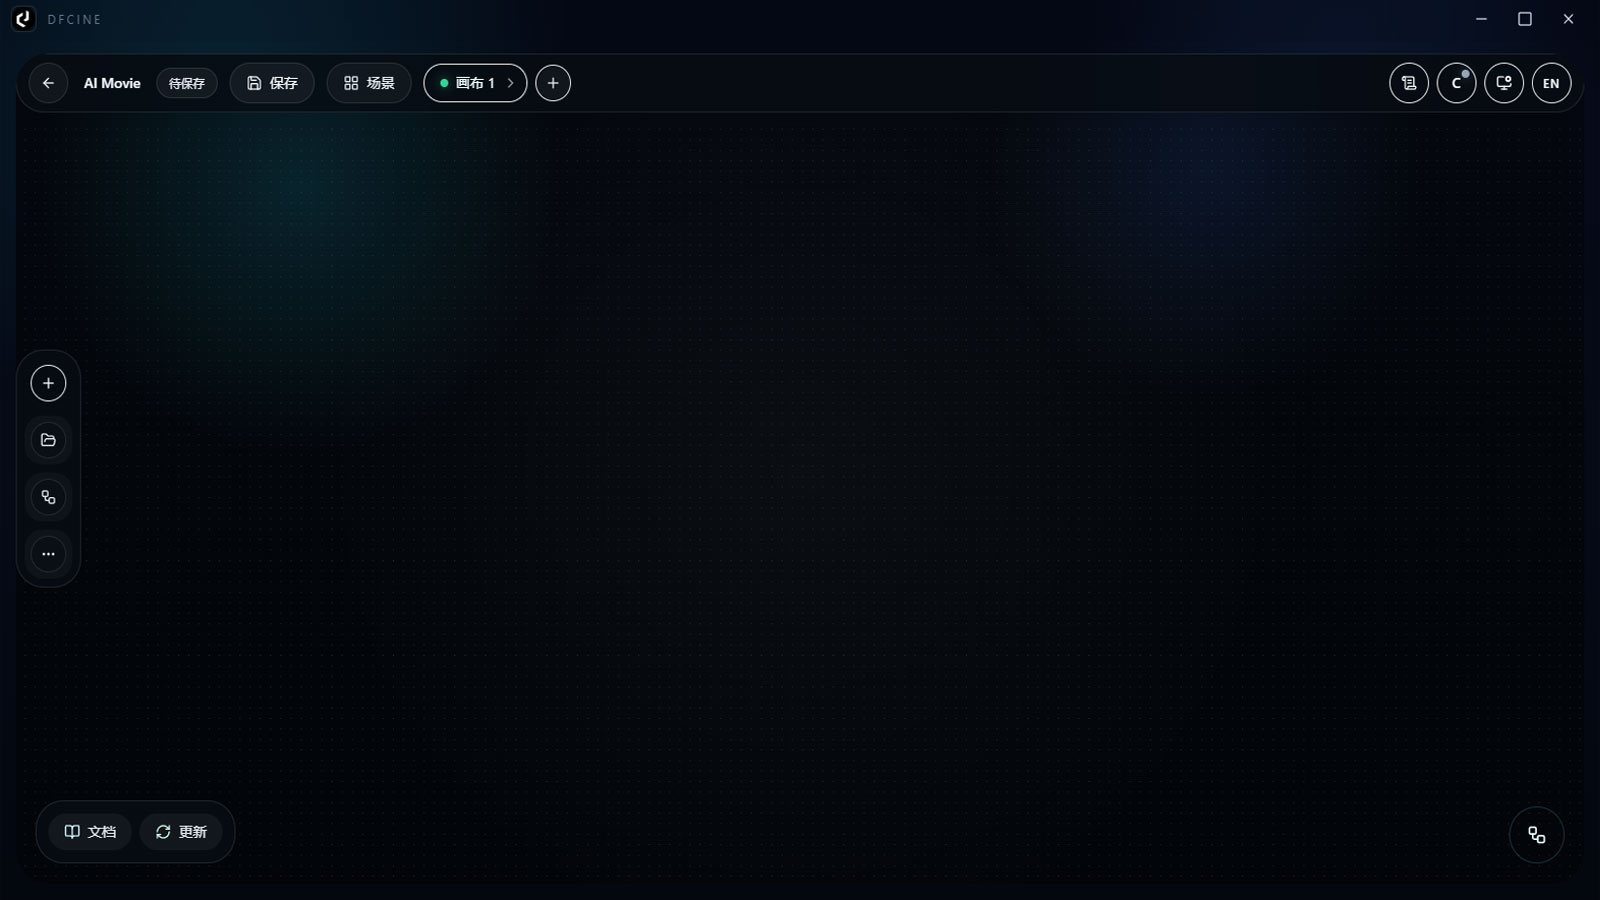
It is recommended to save actively after important node adjustments for easier version tracking and content rollback.
Step 3: Return to the Project Page and Manage Project History
When you exit back to the project page, you will see the history of projects you have created.
You can:
- Double-click a project to open it again
- Click "Import Project" to import a project from another user

The project page is useful for centrally managing projects at different stages and for sharing project content across teams.